

Behind the Scenes: The NASCAR Peak Antifreeze Series powered by iRacing.com Article – Adjusting for Weather Conditions
May 5th, 2016 by Matt Holden
Richmond International Raceway. It’s a driver’s track, nothing remarkably complicated in terms of how to drive it, it’s not a very intimidating place to look at, yet it always winds up being one of the more challenging race tracks on NASCAR’s schedule. The high corner entry speeds, coupled with the tighter turn radii of turns 2 and 3, mean a car that is not working well is going to suffer. As we saw in the NASCAR Sprint Cup race last week, if a dominant car fell off in any way it got run over (and run into) in a hurry. Our #05 Rheem Toyota Camry driven by Nick Ottinger in the NASCAR PEAK Antifreeze Series suffered a similar fate early in the race, and the cause was one of the most confusing topics in sim-racing today: weather and in-race adjustments.
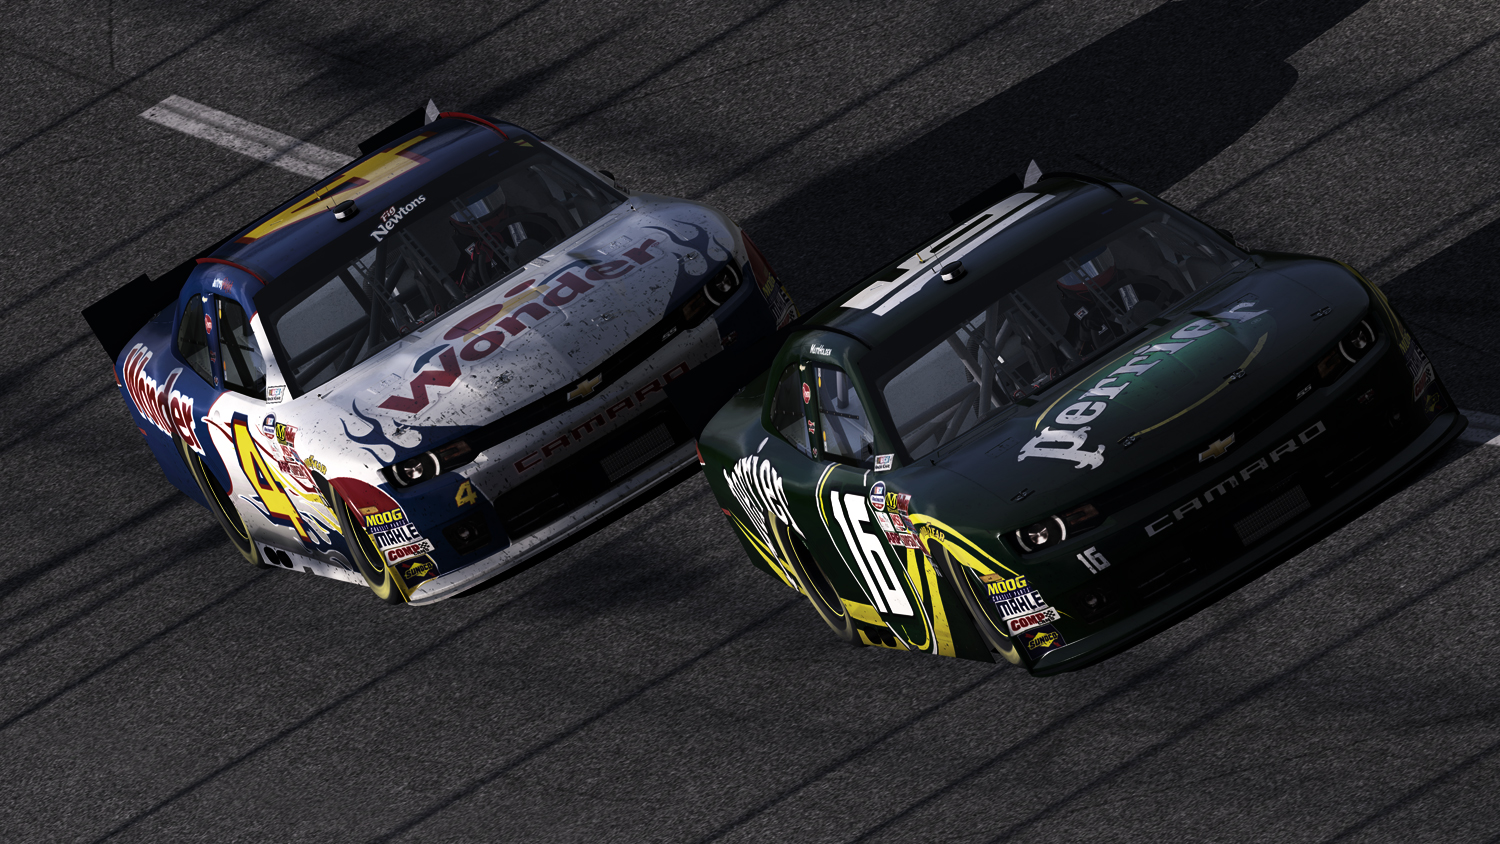
Jeffrey Parker and I were going about 200mph when Nick was telling me about his Richmond car. Shake ‘n bake!
On Monday night, while I was hammer-down on the high banks of Talladega behind the wheel of a specially painted Xfinity car, I heard “psst” in my headset speakers, the telltale sign that Nick was speaking to me from another channel in our Teamspeak server. “We got a good one for tomorrow,” he said, “I’m feeling good about it.” I said, “Cool beans! So no issues like Phoenix?” “Nah, this one drives pretty well!”
When race time rolled around on Tuesday, I was putting all my necessary notes together for the race: starting pressures, rear spring configuration, laps per tank of fuel, gallons per lap, etc., when Nick jumped into the channel and said, “Pole!”. I asked if that would transfer to the race and he said, “Uh…maybe. We tested in fairly hot temperatures, probably 115°, so if the temps are up, then it’ll be good.” The track temperature for the race was 86°, a far cry from the 115° they last tested in, and warmup consisted of swapping between two setups to figure out which would be best suited for the cooler temperatures. At lap 10, when he was starting to fall into the clutches of a charging Kenny Humpe and Ray Alfalla, he said, “I’ve made a huge mistake”, referring to his choice of setups. A few laps later, lap 22 to be exact, we noticed that a crystal-clear line of rubber was building up on the bottom lane and some cars were moving up to avoid it.

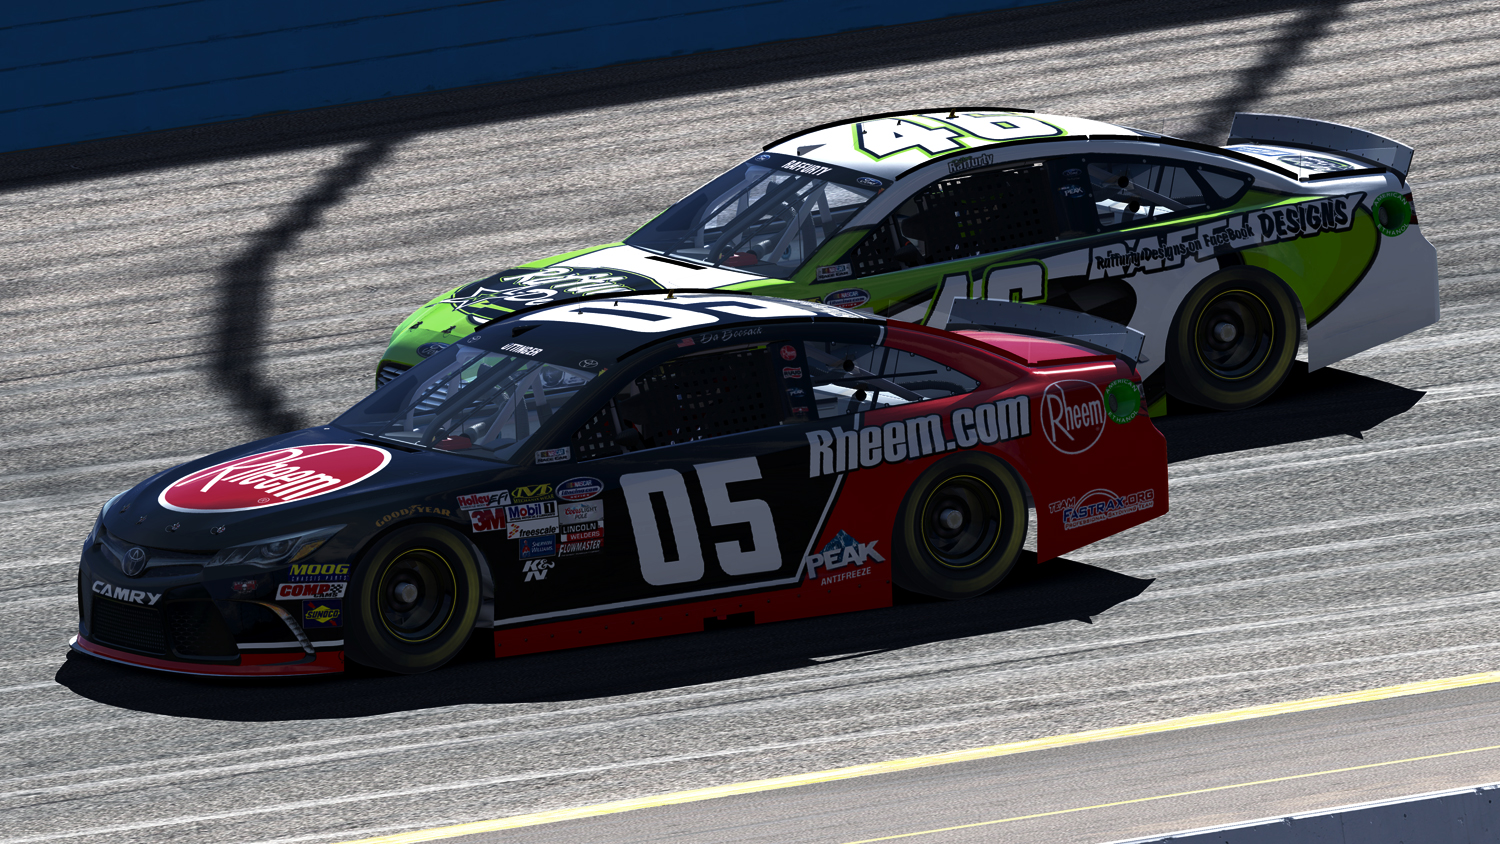
A good car at the start, weather and track changes dropped the Rheem Camry out of contention in the first half of the race
We were still halfway to the first stop, and there were now two variables that were going to be addressed in the first pit stop: track temperature and rubber buildup. Luckily, the engine temperatures were okay, and the temperatures were not changing much at all as the race progressed. The air pressure was changing, but the track was a pretty constant 86°. Throughout the rest of the race, it was a constant job to make sure I adjusted the car both for Nick’s handling woes as well as the natural evolution the track was going through. It was then Nick’s job to maintain his running position as best as he could while I worked out a way to get back ahead of the track conditions. Luckily, I had raced at Richmond just the week before in the Class B series, so I had an idea of what the track was doing.
The biggest thing to understand with in-race adjustments is how the track will react to various changes in conditions. Of all the weather variables, we can throw out wind direction and speed as well as air pressure changes. Wind is typically constant (unless it’s gusting), and a good driver can adjust for wind conditions. Still, it’s good to let the driver know which direction the wind is blowing in, and how hard, so they can prepare. Pressure differences haven’t been enough of a variance to matter yet. Richmond was the first time I’ve ever seen the pressure at a value that wasn’t 29 inHg, and that stayed constant through the race.
I ran a race at Richmond one week prior to the NPAS race. This helped to determine how the track would change on Tuesday night.
So with those two gone, we’re left with three variables: Air temp, track temp, and humidity. Air temp is pretty straightforward: higher temps mean the engine’s going to run hotter. If I notice the temperatures change, I’ll simply say, “Temps when you get a moment”, and Nick will read off his gauges at the next opportunity. As almost everyone knows, add tape when the engine temperatures drop, remove it when they start climbing. That hasn’t been a big deal yet, but whenever we get day-to-night transitions, it will be a massive issue during the race. Similarly, humidity changes will affect how the engine runs, but humidity hasn’t changed in any race I’ve been in yet, so we can ignore that while keeping it in the back of our minds.
Track temperature is a big deal in racing, and has a dramatic impact on how the tires grip the race track. Generally, as a track heats up, oils and grease in the asphalt will make the track slicker, while the opposite happens as the track cools. Drivers will typically say a hotter track is “looser” (more oversteer), while a cooler track will be “tighter” (more understeer). In the NASCAR Sprint Cup and Xfinity series, drivers have recently reported the opposite happening: Cooler tracks are looser than warmer tracks. This is likely attributed to the higher speeds of a cooler track resulting in lower splitter heights, and more front downforce as a result, instead of the more traditional mechanical grip changes we’ve seen in previous years.

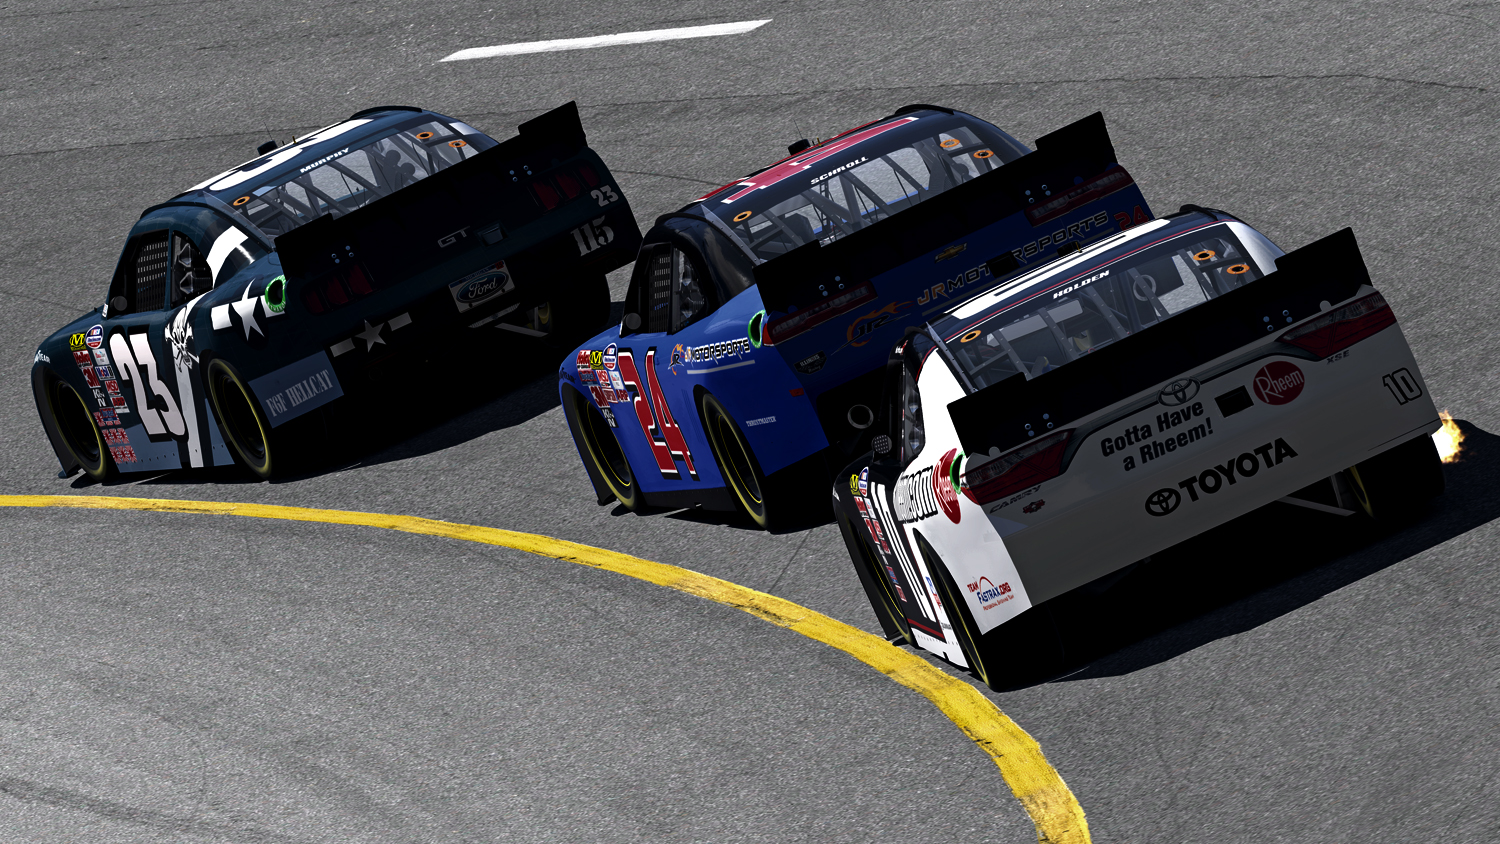
Minor mid-race adjustments for rubber buildup kept Nick in the lead to easily win a Class B race at Bristol last month
Lastly, rubber buildup can upset a car as well. The most grip is going to be on a cold track with a lot of rubber, but a hot track with a lot of rubber will also be one of the worst conditions you can experience (second to rain and rubber, but that’s another story). The most abrasive tracks are “green” and rubber-free, which is bad for tire wear. This is why NASCAR will throw Competition Cautions after a rain storm, simply to check the tires and make sure they’re safe to drive on. As cars put rubber down on the track, that lane will heat up faster than other parts of the track, as well as lose grip from the hot rubber going down onto the pavement. This loss of grip in a lane results in drivers venturing into other lanes looking for more grip, and often times this results in higher speeds from the cooler lane.
That’s a lot to take in, but knowing what situation you’re in will go very far in helping you make the right adjustments when your first pit stop comes up, or even before you start the race. We have four adjustment possibilities we can choose from: Wedge bolts (rear spring offset, Left and Right), air pressures, and grille tape. The fourth adjustment is driver-controlled: brake bias.
The Phoenix car was full of issues that required a combination of multiple pit stop adjustments to cure. Notes from those adjustments were used to fix the car at Richmond last week.
The wedge bolts are simply two long, threaded rods that go through the upper perch on the rear spring. The adjustments in the on-track black box are the same rear Spring Perch Offset adjustments you see in the garage and use to adjust ride heights and weight distribution. They work in exactly the same way as they do in the garage, and produce the same results. Positive values (right “clicks”) on the adjustment will remove weight from that corner, and the diagonal opposite corner, of the car. So a positive value on the Right-Rear spring perch offset will remove weight from the Right-Rear and Left-Front corners and increase crossweight, making the car tighter, typically from the center of the corner to the exit. The same adjustment on the Left-Rear will remove weight from the Left-Rear and Right-Front corners, decreasing the crossweight, and making the car looser on entry, landing, and to the center. A negative value (left “clicks”) will do the opposite: On the right-rear, it will free up the car on exit, and negative values on the left-rear will tighten the car on entry to center. If the same adjustment is made to both, it will change the rear ride height. Positive on both rear wedge bolts will lower the rear (which is used to raise the splitter if it’s hitting the track), and negative on both will raise the rear.
Something to consider with wedge adjustments is the rear spring arrangement, which is why I write down the springs in my notes before the race. A stiffer spring will require less adjustment to get the same effect on a softer spring. For instance, if you have a 500 lb/in left-rear spring and a 1000 lb/in right-rear spring, the adjustment to reduce the crossweight 0.5% using only the right-rear wedge bolt would be about half of the adjustment on the left-rear wedge bolt. Because of this, and the ride height change associated with the adjustment, it’s necessary to make an adjustment to both wedge bolts at the same time: One adjustment will be for handling, the other returns the car to the proper ride heights. For instance, if Nick were running rear springs of 400 lb/in left-rear and 1200 lb/in right rear, and he said he was tight on entry and landing, I’d make three right “clicks” (+0.075″) to the left-rear perch to free up the car on entry. Then I’d make one left “click” on the right-rear (-0.025″) to raise the rear back to where it was. This means the car now has less crossweight, but the ride heights are where we started, meaning the adjustment was purely mechanical with no aerodynamic influence (or as little as possible).
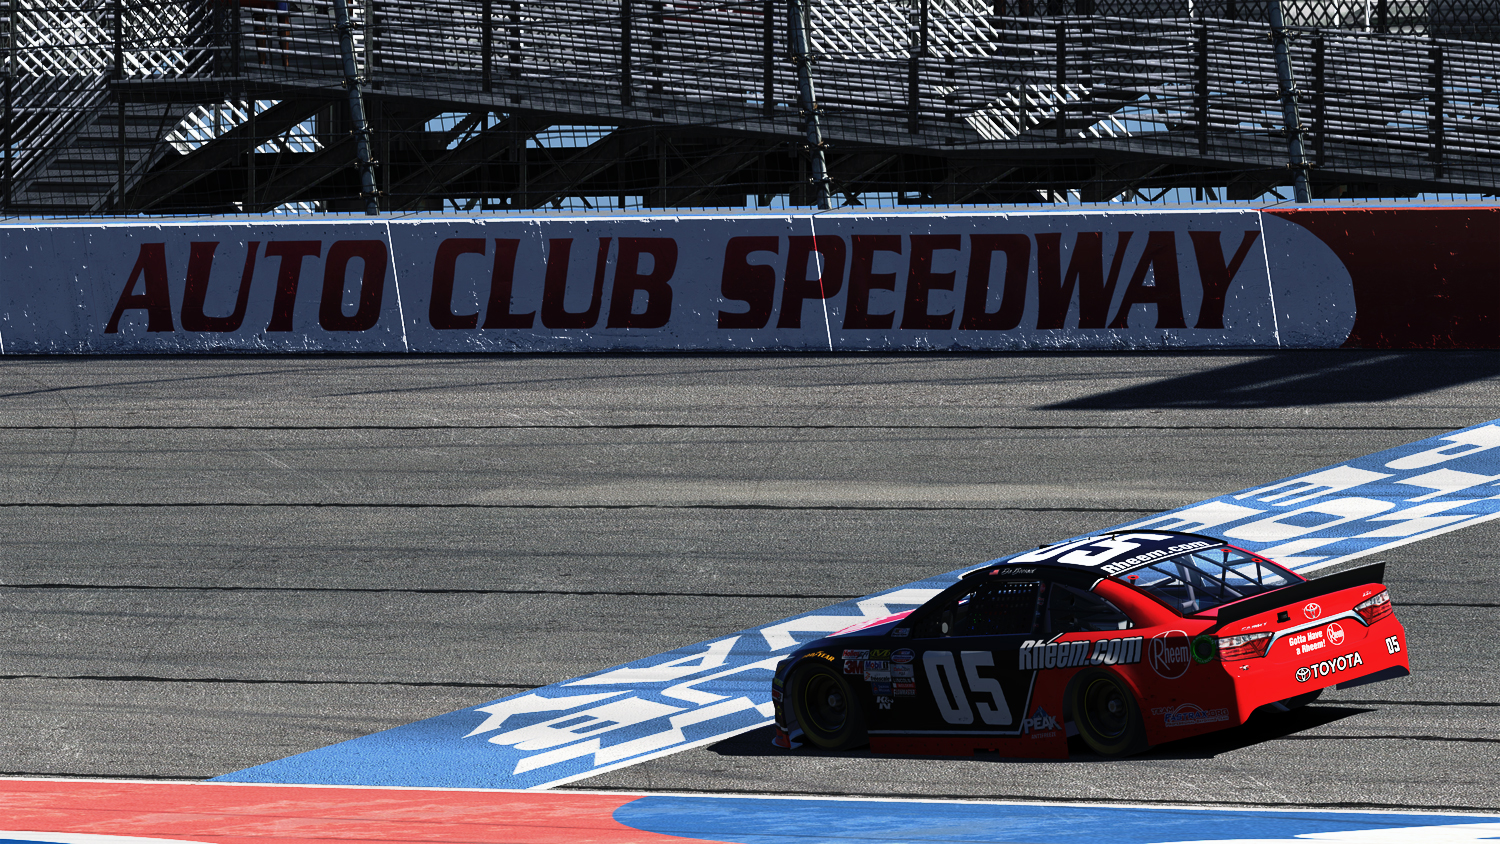
The car at Auto Club Speedway was a unique situation where the weather and track changes played into our favor, and adjustments weren’t necessary
On the other hand, tire pressure adjustments are fairly simple: the tire pressures behave like springs on a given corner. Raising or lowering the pressures on a given corner will produce the same results as raising or lowering that spring. I typically use tire pressures on Nick’s car to cure long-run issues since the pressures have to build up. If he starts reporting the car getting tight around lap 15 or 20, I’ll add air to the right-rear, or remove it from the left-rear so that the tire is at a lower pressure at that point in the next run. Pressure also changes ride heights, so they can be used to clear the splitter or raise a corner of the car if it’s hitting the track.
So, with all that information, it’s basically just a case of looking at what the track is doing and planning adjustments accordingly. Is the track heating up? Reduce the crossweight using the wedge bolts. Is the driver reporting a handling “switch” late in a run? Check the pressures. Furthermore, keeping a similar spring package week-to-week will help you to learn what adjustments work well and which ones don’t. Building a new setup or making spring changes for small issues will just put you back to square one in terms of in-car adjustments.
Hopefully, now that you’ve got an understanding of what everything does, weather changes won’t cause you to pull your hair out. It’s a very simple, yet easily over-thought, aspect of racing. This is by no means an overnight learning experience. In many cases, I’ve adjusted a car right out of the lead (see: NPAS Homestead 2013), and ruined some decent race cars in the process. There will be some races where you make the wrong adjustment, or you mis-diagnose what the car’s doing. That happens, and making mistakes is part of racing. The key is to find out what went wrong and why it went wrong. Then, figure out what you need to do to fix it. Eventually, it will become second nature to easily fix a misbehaving car.

You may also like...


OFFICIAL PARTNERS:


")