

Commodore’s Garage #16 – Adjusting the Spring Package
December 24th, 2016 by Matt Holden
As we approach the holidays and the close of 2016, instead of putting more information out there, I’d like to send everyone on a mission. It’s pretty simple, and the few weeks we’ll have should be plenty of time: Get your spring package right! In previous racing sims, that was pretty simple, right? iRacing’s garage is a little more complex, and throws in new challenges, but it’s the same challenges that real-world teams see on a weekly basis. In the last article, we looked at what will influence your spring package’s characteristics, and this time, we’re going to look at how (and when) to make spring changes to get the car behaving more like we want it to behave on-track.
When Changes are Needed
I can remember when I started sim-racing 10 years ago that spring changes were how I got the car to go around the track. Rotating springs in and out of the car like they were candy was commonplace in race practices, but that really isn’t a very realistic situation. Watch a high-level racing series practice on television and you’ll quickly notice that spring changes are rare, and the commentators will likely make a big deal out of it. In today’s aerodynamic and engineering-based world of NASCAR, a spring change in the track garage usually means somebody messed up on the in-shop simulator. It’s very important to understand that the vast majority of your handling will come from weight placement, shocks, alignment, and roll center locations, while the springs will have a greater effect on the car’s long-run handling trends. Yes, a bad spring package will cause the car to handle quite badly, but changing out springs constantly can lead to headaches that you may never figure out, and late-race handling issues that can take you out of contention.
Knowing that, the question becomes “When is a spring change necessary?” Three major factors can be the warning flags that will identify spring changes:
1) Is the car changing heavily throughout a run? Does it start loose and abruptly become tight? Does it start “okay” and then refuse to turn?
2) Is one tire consistently much hotter than the other three? Further, are two tires on one end of the car the same temperature?
3) Is the car hitting the track? (Walls do not count here….see #1 for walls)
If any of these produce a “yes” from the driver, it’s possible that a spring change is necessary. If the driver is just saying, “It’s understeering here”, or “It’s a little free here”, that doesn’t necessarily mean a spring change is the fix for the problem.
Spring Change “Physics”
Whenever a spring is changed we’re going to possibly see a few different changes in the spring itself. Obviously we’re going to see a change in rate since we don’t have the ability to move to a longer/shorter spring with the same rate. Many of the cars in iRacing now have different spring lengths for each rate, which we need to adjust for as well. In special cases, we can also see a change in the number of coils, which directly affects coil-binding cars. For this article, I’m intentionally avoiding bump-stop suspension for now in an effort to start simple and add complexity as we go.
The major thing to understand about springs is that we’re not going to change the load on a corner through a spring change by any amount that would be significant. For constant conditions, a wheel will see a given load. This is based on the track, speed, downforce, roll center and CG locations, and any forces produced by the chassis itself, such as from the track bar. Whenever we change the spring, we will not change the load the wheel sees. The spring is meant to support that load, not alter it, and as a result will not change the force acting on the tire if everything else in the car is kept the same.
To understand this, we have to look at the math behind spring behavior (it’s simple, stick with me here). I mentioned Hooke’s Law in a previous article about springs, and that applies here as well. Let’s say that we see a 2000 lb load pushing up on our wheel, and we begin with a 500 lb/in spring. So from the law, we have this:
F = k*x –> 2000 lb = 500 lb/in*x –> x = 4 inches
The 500 lb/in spring will travel about 4 inches with this given load. So if we change that to a 1000 lb/in spring, we’ll have only two inches of travel from the new spring, but the load is still 2000 lb/in (1000 lb/in * 2 inches = 2000 lbs). Our load at the wheel didn’t change, but we will inevitably see a much sharper increase in resistance from the spring and the load at the wheel will be countered much faster. Furthermore, we’re also going to see a change in dynamic ride height, which alters the aerodynamics if the car is capable of that sort of thing.
The softer spring will allow the wheel to travel more easily, and keep the tire in contact with the track much longer over rough surfaces. The stiffer spring will reduce the amount of movement, meaning the wheel won’t be as forgiving over rough surfaces, but will (hopefully) keep the car at a consistent height and prevent up-and-down movement, which can produce some wacky aerodynamic shifts in balance.
Balance Issues
The most prominent sign that a spring change is necessary is long-run balance issues. This has been covered so far in the articles on Roll Stiffness (https://www.iracing.com/commodores-garage-5-roll-stiffness/) and the Tire Data article (https://www.iracing.com/commodores-garage-12-tire-data/) if you want to check those out and brush up on the knowledge.
Basically, we’re looking for any under- or over-loaded tires via the tire temperature data screen. You’ll get the best result from extended runs in practice, usually 10-20 laps is enough to uncover issues.

Sample tire data set from Nick Ottinger’s 2016 NPAS car at Kentucky. Click for larger image!!
We’ll use this data set for an example. Once the tires are off the car, we need to average the temperatures (we’re ignoring wear) and consider what was reported, in this case the car got a lot tighter through a run. We can see that the right-front tire is extremely hot, the left-front tire is cold, and the rear tires are nearly the same. This is a sign that the rear suspension is rolling over, and is too soft in roll stiffness. We need to either stiffen the rear or soften the front, and the most effective adjustments for this would be either roll bars or roll center (track bar height, on oval cars). Softening the front end by reducing the right-front spring rate would also work, however on a bumpstop front end it could play havoc with the handling and actually do the opposite (covered in a future article). These tires came off of the Gen 6 NASCAR Cup Car, and the following adjustments would be a step towards fixing the issues:
-Stiffer right-rear spring
-Softer left-rear spring
-Higher overall track bar
-Smaller front sway bar
-Softer right-front spring rate
The right-rear spring would be a challenge because of the aerodynamic issues it could bring about. Depending on how stiff it was to begin with, we could actually increase rear downforce with a stiffer right-rear spring by holding the rear of the car up longer, which would actually cause more understeer, or a tighter car. Like I mentioned, the right-front spring would pose many issues with a bumpstop, so we’re probably going to avoid that. The best option would be either a soft left-rear spring or a higher track bar, with the spring change being a much larger adjustment than the track bar height. Either one would work, however there’s another thing to consider with this data set….
Changing for Individual Tire Temps
I used this specific set of data (which came off of Nick Ottinger’s car in the 2016 NASCAR PEAK Antifreeze Series race at Kentucky) because of the difference in rear temperatures. Whenever we see a tire that is slightly cooler than its counterpart (in this case, the right-rear tire), softening the spring would increase the temperature on that tire a little bit. This is counter to what most people have learned through sim-racing setup guides, but it stems from having the tire in contact with the pavement longer, and the softer spring allowing the suspension to deal with bumps and undulations in the track surface. The longer the tire is in contact with the pavement under load, the longer it will be under friction forces, and thus generating more heat.
So, with all of these things considered, we know that the car is imbalanced with the rear too soft (rolls to the right too easily), and the left-rear is cooler than the right-rear. Considering all that we know about the car (the rates themselves are irrelevant here), we can reliably assume that the left-rear spring is too stiff for this situation. Plus, since we know that Kentucky is a very bumpy, low-grip track, this adjustment makes sense for the track characteristics and should produce a freer car with less swing towards understeer during a run.
Making the Change
Before a spring is changed, we need to pay attention to a few things and make sure we return these values to where we started:
-Corner Ride Height
-Sway bar preload(s)
-Bumpstop Gap/Shock Deflection
-Alignment for the corner
Everyone knows the rule to “change only one thing at a time”, and this is where that rule is most important. If we don’t make sure all of these things go back to where they were, we’ve changed more than just the spring. Ride height changes produce aerodynamic changes, bar preload changes produce sway bar changes, bumpstop gap changes result in contact timing changes, and alignment changes result in contact patch changes. All of these can produce unexpected results, and piling them on with multiple un-adjusted spring changes is like jumping down a big hole with no ladder.

Definitely click this for a larger version. Here are all the things to pay attention to during a spring change.
In the above image (click it for full-res), I’ve changed a spring on the NASCAR Class B Xfinity car’s left-front corner and pointed out the steps necessary to make the change. Here, we want to make sure that everything possible returns to where it started, and the major step here would be resetting the ride height following the spring change. We start with a 500 lb/in spring with the ride height at 5.54″. The first step is to change the spring and let the car settle (the “Apply” button does this for us). Following the spring change, the ride height went to 6.78″…which is illegal…and the corner weight increased by 64 pounds, which likely comes from the change in sway bar preload from the new ride height. It’s a simple fix though, and we just need to lower the car via right-clicks on the Spring Perch Offset until the ride height is as close as we can get it to where we started. In this example I returned the car to 5.56″ ride height by raising the perch about an inch.
Another thing to consider here is that I got the shock deflection back to where it started, with only a 0.02″ change in deflection. This is incredibly important for a car like this, where we would use bumpstops! I’ve changed the main spring, but I haven’t changed the bumpstop gap, which means the bumpstop will engage at the same point in suspension travel as before. Before the ride height was reset, the shock was at 4.63″ of deflection, meaning it had expanded by a full inch. This would add an inch to the bumpstop gap, meaning it would take that much more travel until the bumpstop engaged. Our smallest shim option is 0.063″, so in the event that the spring adjustment changes the bumpstop gap by more than that, we need to re-shim the bumpstop to compensate.
Race-testing Spring Changes
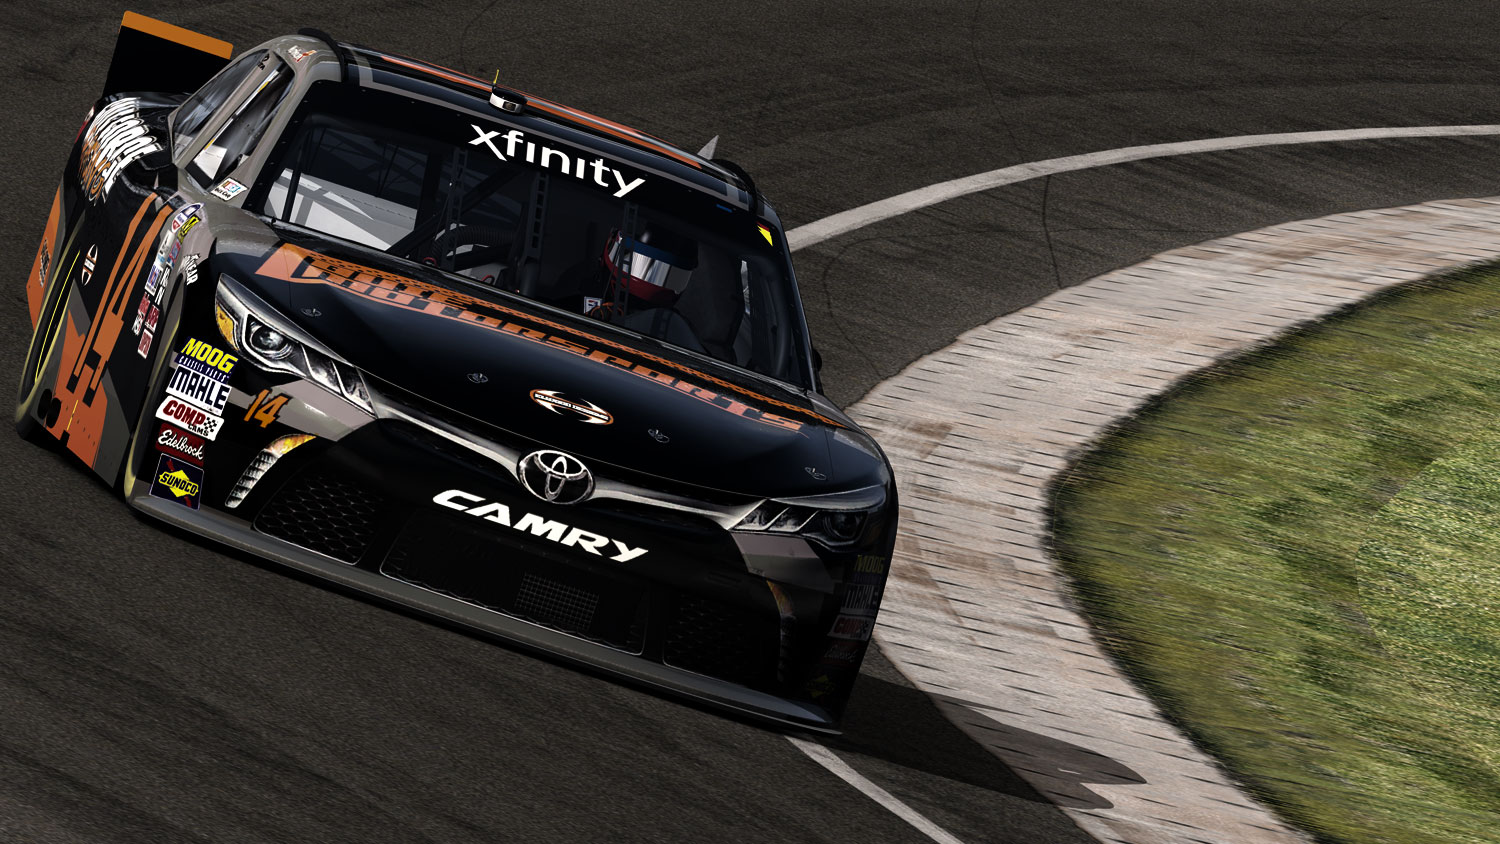
The car I raced at Indianapolis this year (pictured) was the last spring change we made throughout the entire 2016 season. The “experimental” setup under this car worked as expected, but produced unwanted issues. Following Indianapolis, we stuck to a single set of springs for all 1.5-mile or larger tracks for the rest of the season.
I’d like to end the year on an example of how we went about a major spring package change in 2016 on the Class B series cars, specifically a situation where I tested a new spring package for Alex Scribner around the season’s midpoint. Prior to Indianapolis, we’d struggled with bump spring timing, and major changes with the car’s behavior on and off the bump springs. Alex wanted to go one direction with his car’s front end and I wanted to go a different direction, however he was still curious to see how a third option would behave during a race. Specifically, we wanted to run a stiffer right-front spring with a smaller sway bar, preloaded higher than we typically would have done with that car. This would have, in theory, caused the right-front bump spring to engage later in the corner, producing a very responsive turn-in (from the high-rate left-front bump spring), with the bump spring shimmed so it engaged approaching full load in the corner, which would stabilize it and produce extra bite when the throttle was applied. The lower initial right-front rate should also have reduced the long-run balance swing from neutral to tight, and reduced tire falloff over the course of the race.
We decided on the Indianapolis race to try it, since it would be a very smooth track with high speeds, and the bump spring engagement should have been very apparent to the driver. I volunteered as “guinea pig” for the test, and I raced the setup in both starts at Indianapolis this year. The setup did produce the results we expected, with a long-run handling consistency that we hadn’t seen all year with excellent turn-in and very good drive off. However, the stiffer front springs (and necessary sway bar changes) caused the front end to raise up too high on the long straights, meaning I lost ground to cars ahead in a few passing attempts from the extra drag. The direction Alex went in, however, seemed to work out because he won the race that week. This marked the last speedway chassis spring change we made in the entire year (including rear end adjustments), running every race beyond Indianapolis on the same spring package that Alex used, tailored to each driver that used it.
An article to cover the process more in-depth is on the way in the form of a Behind the Scenes article, but it was a prime example of not making spring changes to cure handling, but instead cure chassis balance issues. My car handled exactly the same as my previous setup, it just didn’t have the long-run problems I’d faced earlier in the year. Springs are not the “rough adjustment” that we’ve been told in the past, but instead the foundation on which to build the setup for your car. If you pay attention to what the car is doing, and look at the data it can provide from the tires, you should be able to determine whether or not a spring change is really necessary. If not, adjusting something else can save you a world of trouble, not to mention result in a more consistent and responsive car in the future.
Bringing the year to a close, I want to say “Thank you” to everyone who has read these articles and messaged me with their success stories and questions. When I proposed the idea to David Phillips earlier this year, I made it clear that I wanted to help the sim-racing community as best as possible. I hope I’ve been able to do that so far, and hope to do so in 2017 as well. I wish all of you the best for the holidays, and can’t wait to get started on next year!
To keep up to date with The Commodore’s Garage, return to Sim Racing News every Friday afternoon and “Like” our page at https://www.facebook.com/CommodoresGarage

You may also like...


OFFICIAL PARTNERS:


")