

Commodore’s Garage #26 – Let’s Get Started
July 7th, 2017 by Matt Holden
After twenty five articles covering the major concepts and options in our sim-racing garage, it’s time to actually start applying all of what we’ve learned to build a setup from scratch. Some of you may be thinking, “Finally…it’s been over a year!”, while others may be thinking about what a daunting task it is to start from essentially nothing and build a car that you’re happy with. It’s very understandable that anyone who has never worked with the iRacing Garage can be intimidated to the point of looking for a setup on the forums or going to one of the many setup databases. These are great points to start, but once you grow comfortable working on your own cars and learning how to get what you need out of a car you’ll find yourself more comfortable with your car in the race, finish better, and no doubt have more fun with the entire process. Since starting these articles in June of last year (I wasn’t kidding about the 1-year thing), I’ve had so many people send me messages talking about how more fun it is for them now that they’re working on their own cars each week. Many have started winning races. A few have even won championships. How far you go is up to you!
As we go through the entire process, we might have to take a look at the finer details in our chassis setup as they come along, so expect at least a few articles in the future that take a focused look at something very specific that can get you stuck in the mud, so to speak. I also don’t plan on leaving you with just theory for you to pull numbers out of thin air with this, so every now and then you might see a few screenshots of what I’ve got going on in my own NASCAR Truck. For whatever reason, I’ve always stayed away from the Truck and I’d like to go through the setup process with that vehicle as well at the same time you’re going through yours.
Step 1 – Have the Plan Ready
I will start by saying that the “click buttons ‘til I’m fast” method is not going to be entertained here. We want to be as efficient as possible to tackle as many problems as quickly as possible, which means we need a direction before we ever begin. The moment when you first open the garage menu should be after you already know where you’re headed with the setup, what you are looking for, and how you’re going to go about doing this. For example, I’ll take you back to mid-2016 when Alex Scribner, Brandon Buie, and I all decided to race at Gateway in the NASCAR Truck Series.

These three trucks (#1 – Buie, #2 – Scribner, #5 – Holden) were all raced on the same setup despite none of us knowing how to set the new truck up. I’ve outlined the process we used to set up these cars in this article.
After a half-season under our belts in the Class B series, this probably seems like child’s play right? Wrong. Each of us had not raced the truck since it was updated to the current body style. In fact, aside from a one-off disaster at Charlotte one month before this, I hadn’t raced a truck in over 4 years! We had no notes on the car, no idea what the fast cars were running, and no idea how we were going to do in the race. On top of that, the setup I borrowed to race at Charlotte was plagued with issues and we threw it away. Gateway was a truly start-from-nothing race.
The one thing we did know about the truck was that it didn’t have bump stops on it, so coil-binding pretty much told us exactly how we’d be configuring the front-end of the chassis. We still had notes from coil-binding the Class B car so we already knew the process to get that sorted out. The issue was how everything behind the splitter needed to be set up. How much rake do we need? How does the truck behave with rear-end skew (rear toe, truck arms, track bar rake)? Can we run a package similar to the Class B car and see how it reacts?
Questions like this outlined our overall plan for the setup, with the only known aspect being a coil-bind front end. The rest was totally unknown, but having the plan ready before any of us ever got into the truck meant we’d eventually have enough information to build the setup to at least be competitive.
Step 2 – The “Set-and-forget” Options
The first thing you should always do is configure the settings in the garage that are going to have no real impact on the setup until later down the road when the issues have mostly been ironed out. For our truck, I left these options constant until late in the setup process:
- Steering Ratio: Since this setting has exactly no bearing on how the car handles, I left it at the 10:1 I use in the Class B car. Brandon and Alex changed to their preferred box when they got the setup prior to the race.
- Steering Offset: Also has no influence on the car’s handling, but it can affect the driver’s confidence on the straight. Since we hadn’t worked with the truck before, I kept it at zero. The rear toe settings caused the steering wheel to be slightly right of center on the straights, which I prefer, so it stayed there. I don’t know if Alex or Brandon changed their setting, but it’s possible they did.
- Brake Bias: I build almost every oval setup at 62.5% and leave it there all the time. The only time I will ever change this is if braking telemetry is showing a massive imbalance in front-to-rear braking force because loose entry is almost always a left-rear suspension problem, not a braking problem.
- Shocks: Since we hadn’t worked with the truck, which has a very different aerodynamic and weight balance compared to the Cars, I set the rear shocks at 32/32 and the front shocks at 16 compression/32 rebound. We wound up changing the left-front shock to 30c/25r but left the other three the same. This is a typical shock package I use for testing purposes and doesn’t mask suspension issues. When we later adapted the truck to Kentucky a few weeks later, we changed all four shocks for the bumpy surface.
- Rear Alignment: Maxed the rear toe at 4/16” and got as much rear camber as possible. Gateway is unique since Turns 1 and 2 are very slow and tight, so the extra rear toe was actually a hindrance at that end of the track. However the speed carried through Turns 3 and 4 made up for it. At somewhere like Richmond or New Hampshire, we would have likely backed off on it to help keep the rear end in line.
- Front Sway Bar Linkage: This is unique to the truck now, but we opted for the chain linkage due to the curbs at each end of the track. The chain basically allows the left-front tire to hit a small bump without transferring the shock to the right-front tire which was very helpful on the bumpy curbs.
I also kept a few settings less strict, with the option to adjust as needed. The track bar, for instance, was initially set with a 2.5” split (right-side high) and left alone since it was the split I used at the time on the Class B car. I was carrying over the 250/1200 rear spring package from my Class B car, so the split in the track bar needed to stay the same. I wound up adding a half-inch to that setting for a 3” split at race time. I also started the left-front camber at +7.5° and played around with that throughout the setup process, but it was raced at +7.4°.

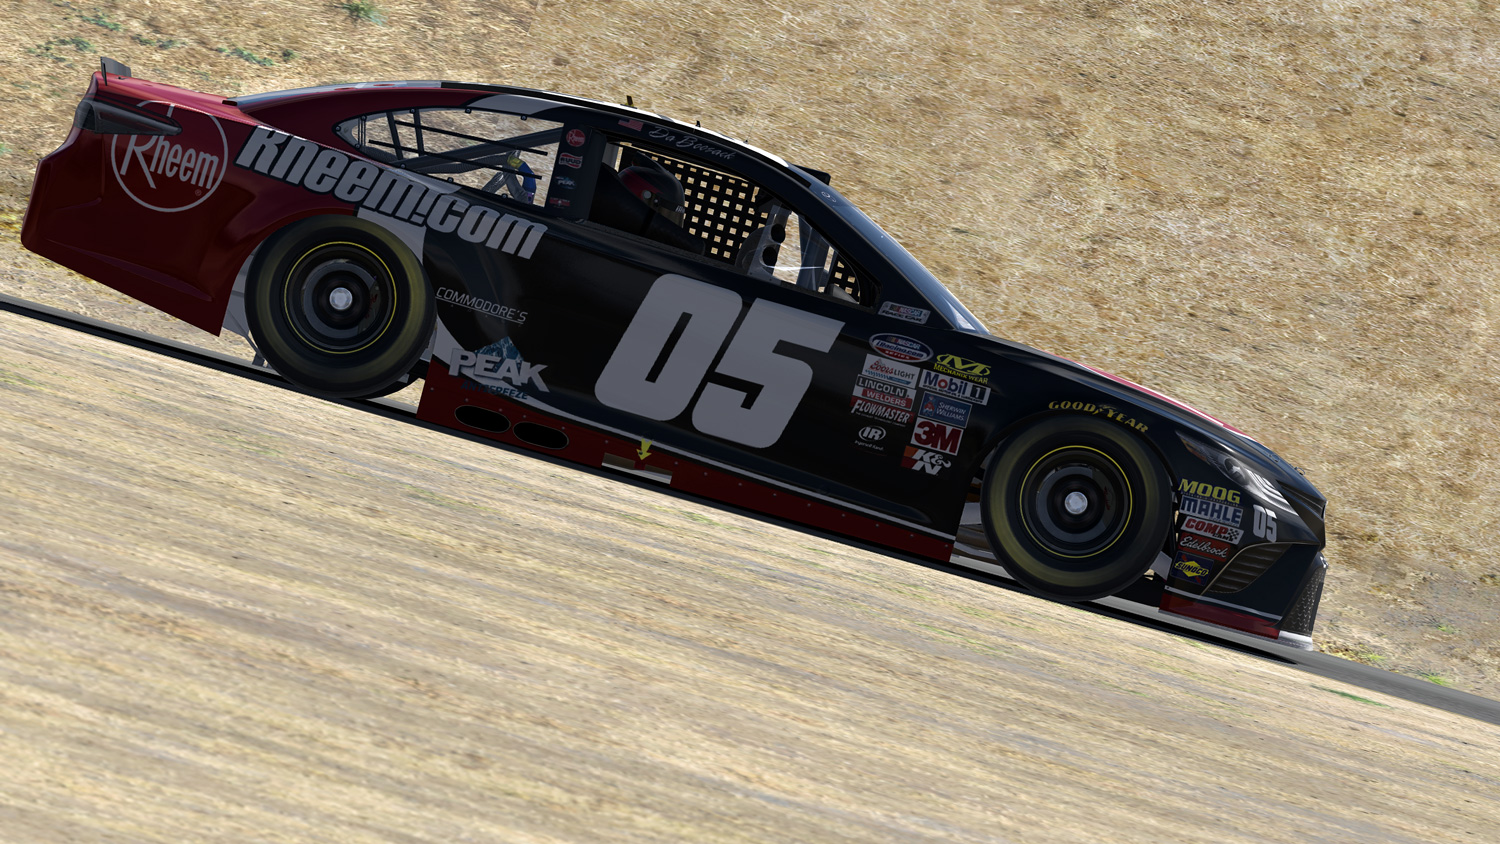
When the Class B car got its own rebuild recently, we had to drop what we knew about the chassis and lock a few settings in place to see how everything had changed from the rebuild. The car pictured here was used to test what effects the suspension now had on the splitter, and whether or not that agreed with what the previous build did.
Setting things like this to keep them constant is important in the beginning of the setup process to just keep the options limited to what really matters at this point. The early stages can be likened to 7-post tests in a real race shop, which is nothing but swapping springs and shocks out until you wind up with what you’re looking for. Eliminating the things I’ve listed locks everything on the car that isn’t a spring element or weight placement option, and keeps you limited to adjusting the fundamentals of the car first before moving to the finer adjustments.
Step 3 – Checklist, Setup “Zoning”
Once everything is narrowed down to the basics, it’s time to look at one section of the car and keep it that way while having a mental checklist of what to work on. For the more complex road cars, where aerodynamics can be directly adjusted, you can have many sections to work in such as front-end, rake, wings, differential, and shocks, but our truck was relatively simple. I looked at the front end first, moved to the rear end, and then looked at the weight distribution. Those were the three “zones” for the Gateway setup, and I never moved to the next one until the current one was complete.
The front end was set up only to keep the splitter down as low as possible for as long as possible. All I did was swap the front springs out until I found the softest pair of springs that kept the car off the track and then those were left alone. I had the minimum ride heights outlined by the garage, so I set the front end to those heights, started at 300 lb/in, and added 10 lb/in to each spring until it no longer hit the track. The spring pair we wound up running was 350 on the left-front and 370 on the right-front, with the left-front height set to 5.65”. The 350 ran just above coil-bind when the splitter hit the track, so raising the nose allowed it to bind. The higher right-front spring simply allowed the front to roll over a little more and bind later, helping turn-in. Curiously, we always ran the stiffer spring on the left-front of the Class B car!

I took this screenshot during the “zoning” phase with the new Class B Xfinity car at Michigan. At this point, I’d gotten the splitter where I wanted it and was in the process of modifying the rear end of the car.
Once that was set, it was a matter of setting the rear ride heights so the chassis didn’t hit the track. I kept the springs at 250/1200 because that was what I was familiar with in the Class B car and knew how to adjust with them. In theory, any spring combination would have worked as long as the ride heights were set to keep it off the track. In fact, we even halved the right-rear spring rate and installed a sway bar in the rear to help with bite off the corners, but found it to be too finicky and went back to the more conventional pair. Not to mention that none of us had used a rear sway bar since the Cup COT went out of style 3 years earlier.
After the rear was set, it was just a matter of adjusting the crossweight, shocks, and ballast until the truck worked as planned. Keeping your adjustments in one place, while staying focused on the current problem, is the best way to keep yourself from introducing multiple issues at a time. If I had changed something on the rear end while I was working on the splitter, I would have changed how far the rear dropped in the corners. This changes how far the splitter would have been from the track, and from that alone I now have two problems to work with.
Step 4 – Rinse and Repeat
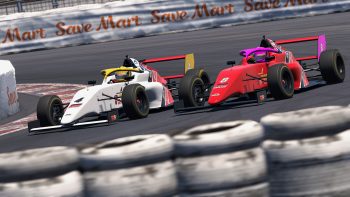
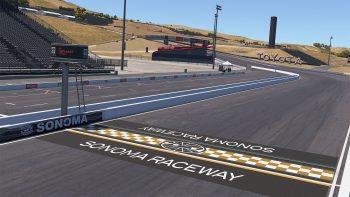
Nick Ottinger has used the same setup for every road course race in the NASCAR PEAK Antifreeze Series since winning at Watkins Glen in 2015. While it was used for Watkins Glen in 2015 and 2016, the process to adapt the car to Sonoma was similar to what was described in this article.
Simplifying the initial setup process is the hardest thing to get into the habit of when building a setup. You could be working on the front end, but you may be a half second off the fast cars and the car just doesn’t behave properly. It’s natural to want to look at fixing the issues, but it’s very important to remain focused on the problem at hand and getting that sorted out before ever going somewhere else on the car. We want to have as few hurdles to overcome at a single time as possible, and running all over the car can build the hurdles into mountains. Before you know it, you’ll take a tiny issue and grow it into a tremendous problem that is nearly impossible to overcome without reversing every change made to the car. Keep everything focused and get the big details correct, then move to the other stuff.
Sometimes, completing each “zone” on the car will affect another zone so it can be a merry-go-round of adjustments until the entire car is how you want it. That’s okay, and it’s also normal. Like I said earlier, adjusting the rear of the car will directly change the splitter, and changing the splitter will adjust the aero balance and the needed rake as a result. It can be tedious at first, at least until you get the hang of it. Still, the setup I went over in this article finished 1st, 2nd, and 4th in its only race, so even with no knowledge of how the car should work, I think it did alright!
~~~~~~~~~~~~~~~~~~~~
To keep up to date with The Commodore’s Garage, return to Sim Racing News every other Friday afternoon and “Like” our page at https://www.facebook.com/CommodoresGarage

You may also like...


OFFICIAL PARTNERS:


")